|
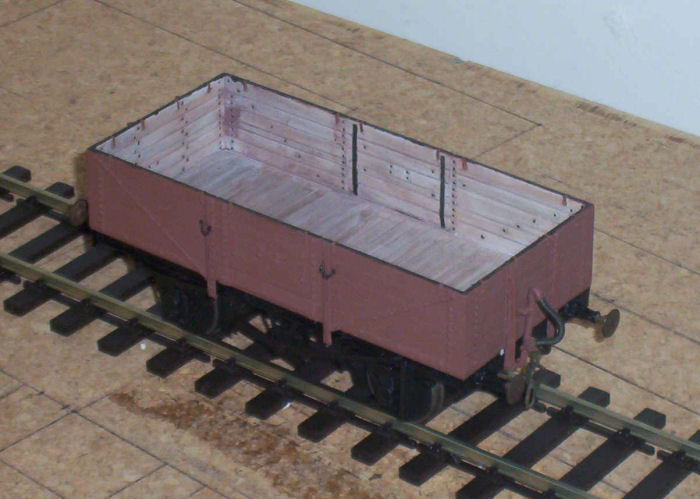
Weathering the wagon: It started during construction: I abraded the insides with coarse sand paper: after cutting out and scribing planks, but before assembly. After assembly, the inside of the wagon was primed in white (everything else got red oxide: chassis was them sprayed with satin black, without worrying about overspray - I don't have an airbrush, and use Halfords acrylic aerosols!)
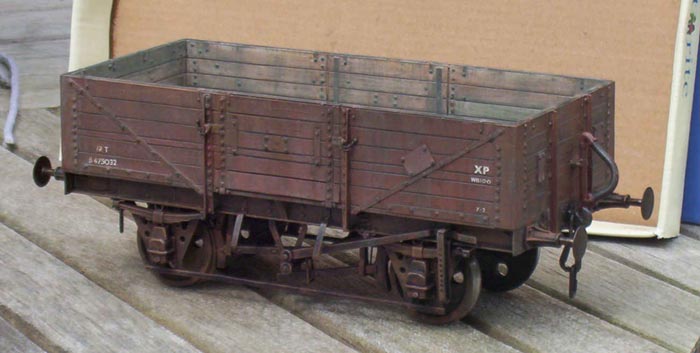
It was then given a very thin wash of Humbrol 113, which is the main colour used for the body. This gave it a sort of pinkish tone, which actually was quite pleasing. After fully drying off, a wash of very thin Humbrol gunmetal was brushed over everything. This settled into plank grooves and the wood grain from the coarse sand paper, and set the detail off. To finish off the painting stage, I used diluted Humbrol "tarmac" - dip the tip of the brush in the paint, then into thinners (I always use thinners and not white spirit), touch it on some kitchen roll, and back into the thinners, then paint it onto the wagon interior - you just have to practise this until it is right - if there is too much paint on the wood, add another brush load of thinners. Too little, a dab of paint and maybe of thinners - the process is quite wet, and the aim is to let the colour underneath come through. After that, it was drybrushed with and across the grain with more Humbrol tarmac and 113, until I was happy. I used pretty much the same colours, sometimes mixing a little tarmac with 113 to tone it down, to drybrush the whole body. The capping irons were painted with gunmetal, and drybrushed mostly with 113. Apart from a few small detail areas, I used a 1/4" flat brush for most of the work.
| |||||
| |||||
| Back to main page | |||||